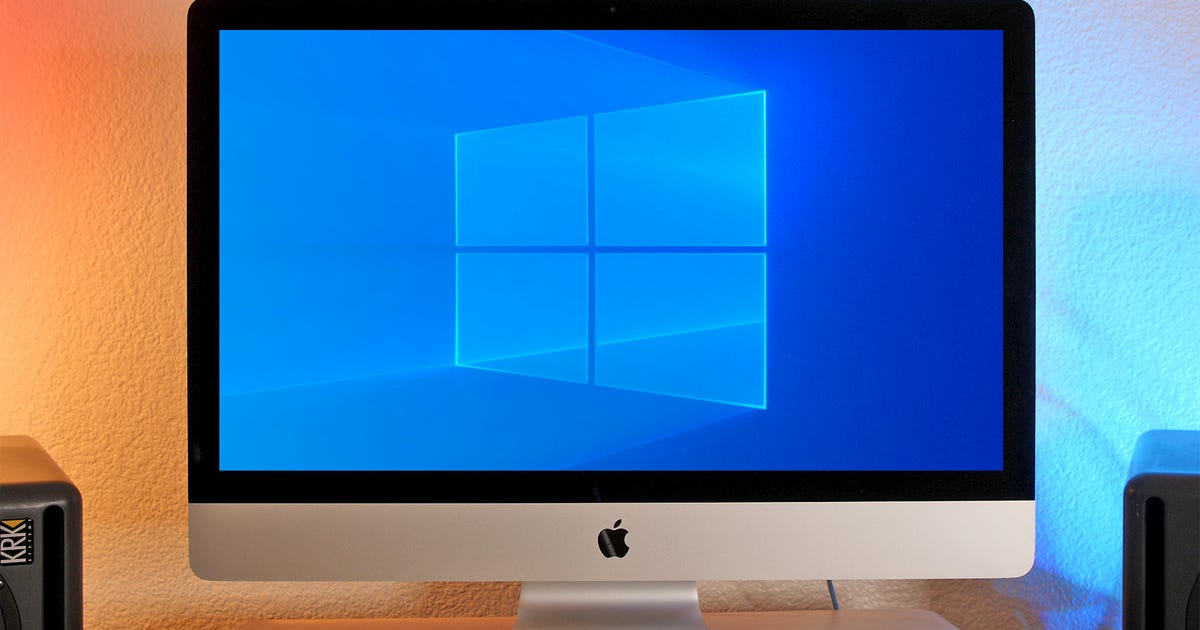
Windows 10 on a Mac: Here's How to Set It Up for Free
No matter how happy you are with your MacBook Pro, there's always something that Windows can offer that MacOS can't, whether it's exclusive software and video games or unique settings and features. And you might not know this, but if you only own an Apple computer, there's still a way to run Windows on it.
As long as you have an Intel-based Mac with enough storage and the correct Windows 10 ISO file -- which you can download for free from the official Windows website -- you can set up Windows 10 on your Apple computer in less than an hour. From then on, anytime you boot up your Mac, you can choose whether to run Windows 10 or MacOS. Here's how to do it.
Here's what you need before you start
To successfully run Windows 10 on your Mac computer, here's what you need to have:
- An Intel-based Mac computer (if your computer is on this list, it's not supported).
- 64GB or more free storage space on your startup disk.
- A power connection (if you're on a laptop).
If you're unsure whether your computer is Intel-based, click on the Apple logo on the menu bar, and then go into About This Mac. If you see the words Processor, followed by the name of an Intel processor, like "2.6GHz 6-Core Intel Core i7," then you have an Intel-based Mac.
Before you start, though, it's wise to back up your disk with Time Machine before partitioning just in case something goes wrong.
1. Download the Windows 10 ISO File
Windows 11 isn't currently compatible with Boot Camp Assistant on MacOS. So, you'll need to download Windows 10 instead. You can download a free disc image, also known as an ISO file, of Windows 10 from the official Windows website.
1. On your Mac, go to this Windows software download page.
2. Click on Select Edition, and choose Windows 10 (multi-edition ISO).
3. Hit Confirm, and wait for your request to be verified.
4. Once that finishes, choose your language and click on Confirm.
5. Finally, click on 64-bit Download to download the Windows 10 ISO file.

Download the 64-bit Windows 10 ISO file from the Windows website (most modern computers have a 64-bit capable processor).
Nelson Aguilar/CNETThe Windows 10 ISO file is nearly 6GB, so depending on your internet connection and speed, it could take up to 30 minutes to finish downloading. After the ISO file is done, leave it in your downloads, and move on to the next step.
2. Run Boot Camp Assistant
The software you'll use to run Windows 10 on your Mac is Boot Camp Assistant, which comes factory-installed on your Mac. Boot Camp Assistant is made specifically for installing Windows operating systems on your computer, and fortunately the setup process is pretty straightforward.
1. Launch Boot Camp Assistant on your Mac, and click Continue.
2. Click on Choose a Windows 10 ISO file, and upload the Windows 10 ISO file you downloaded in the previous step.
3. Drag the bar to choose a size for your Windows partition disk (42GB is the minimum).
4. Click Install,and wait roughly 10 minutes for the partition to be created.

Upload the Windows 10 ISO file and choose the partition size.
Nelson Aguilar/CNETOnce the Windows partition is finished, your laptop will restart.
3. Install Windows on your Mac
Your computer will boot up, but instead of showing you the Apple logo you're accustomed to, you should instead see the blue Windows logo appear. Here's what you need to do next:
1. Go through the Windows setup.
2. Enter a product key if you have one. If not, you can continue without one.
Even without a product key, you'll be able to access Windows on your Mac, so don't worry. During the installation, you'll see window files copied, features and updates installed and more. This should take another 10 minutes.
4. Set up Windows on a Mac
Your Mac will restart. But this time you'll be asked to set up Windows, just as you would on a Windows computer. You can use Cortana and your voice to complete the setup, but you're also welcome to use your keyboard, mouse and trackpad.
1. Choose your language, keyboard layout, Wi-Fi and more to begin.
2. If you have a Windows account, log in with your credentials.
3. Windows will boot up on your Mac. You'll be asked to create a passcode and/or PIN to enter your computer. Do that to protect your account.
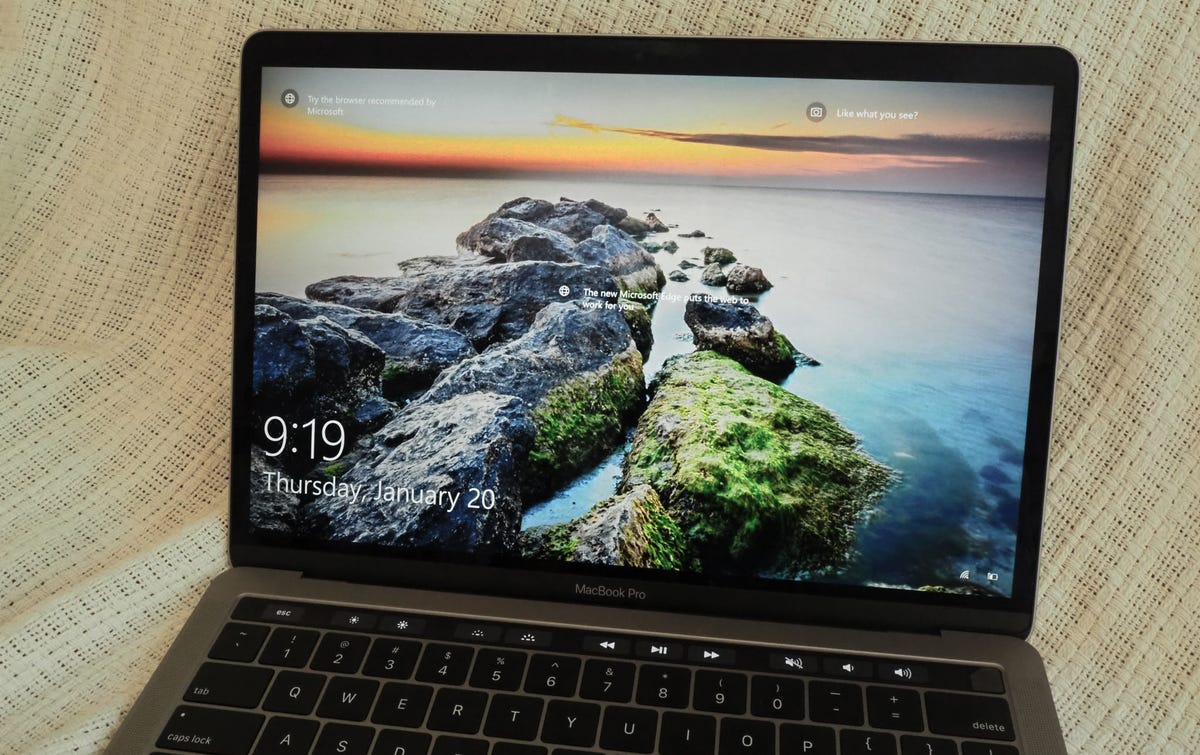
This is the Windows lock screen that appears after your Mac restarts.
Nelson Aguilar/CNET5. Install Boot Camp on Windows
Finally, the last thing you'll need to do is install and update Boot Camp on Windows. That will let you make any additional changes to your partition or fix any issues while you're running Windows. When you access Windows for the first time, you should receive a notification to install Boot Camp. This will take 10 minutes to install, but it's the last thing you need to do before you can use Windows without any issues.
6. Use Windows on your Mac
Feel free to use Windows how you want. Windows 10's default web browser is Microsoft Edge, but you can use it to download Chrome or anything else to surf the internet. You can then download files and install software you would only be able to install on a Windows-powered computer -- like Paint.NET and certain games from Steam -- but on your Mac.
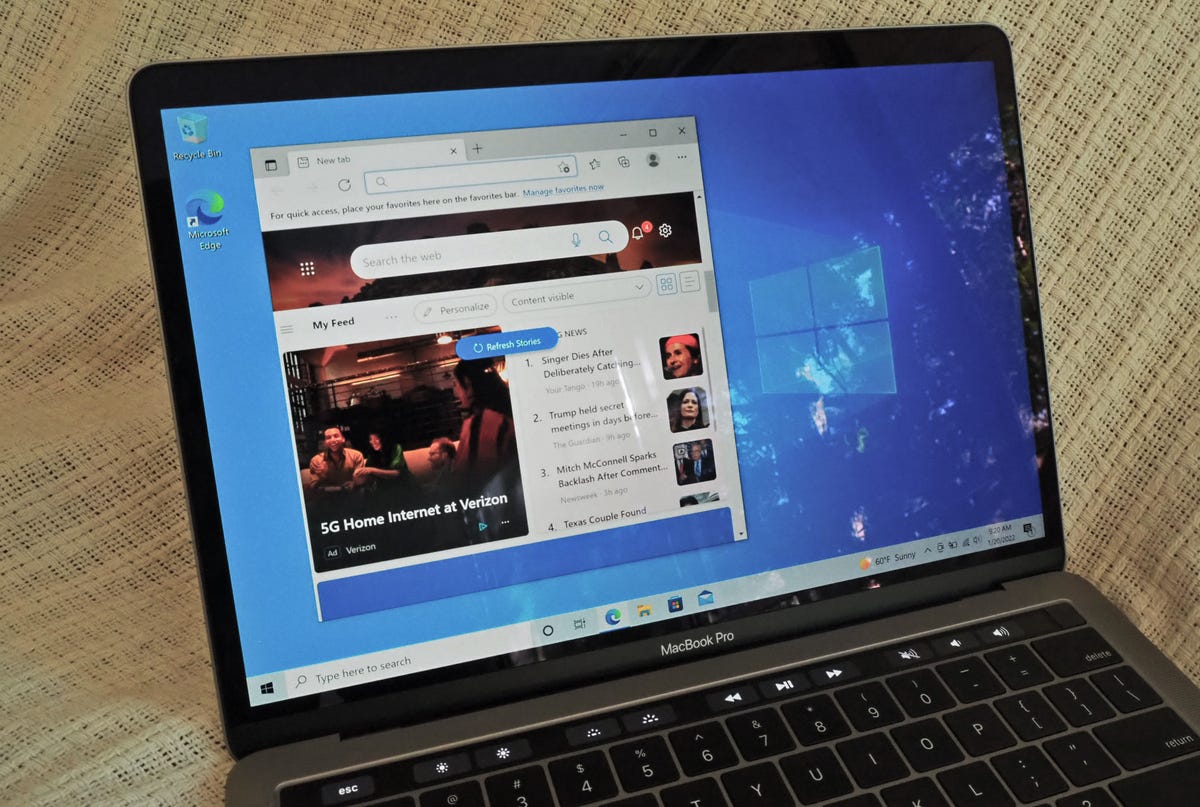
Windows 10 on a MacBook Pro.
Nelson Aguilar/CNET7. Switch Between Windows and Mac
If you ever want to go back to MacOS from Windows, do the following:
1. Restart your computer.
2. As soon as the screen goes black, hold down the Option key for 5 seconds.
3. On the screen, you'll then have the option to boot up MacOS or Windows.
4. Choose the partition you want to open.

Hold down the Option key when you reboot to choose a different partition.
Nelson Aguilar/CNETUse this keyboard shortcut to switch between your disks as needed.
Source
Tags:
- Windows 10 On A Mac Here S How Weird Things Are Getting In The Housing Market
- Windows 10 On A Mac Here S How Deep Learning
- Windows 10 On A Mac Here S Lucy Tv Series
- Windows 10 On A Mac Without Boot Camp
- Can I Play Minecraft Windows 10 On A Mac
- How To Get Windows 10 On Chromebook
- Windows 10 Download


